For several weeks I have been thinking about making some shades for my front windows. I LOVE the look of burlap, but after reading several articles about sewing burlap I was scared. So, I started to research burlap look fabric, linen, and polyester fabrics that would give me the look but cheaper on the wallet. Well, I didn't find any of those options that would fit my budget. I then looked at different weaves of burlap because it is what I wanted after all. There was a tight weave and then a much more open weave. The tighter weave may be easier to sew, but then would it block to much light? It basically came down to price and what I'd be able to find at the store since Covid has really slowed down the shipment of non-necessities as I found out today. More on that later. Don't get me wrong I could just as easy sit here and order online, but again I'm to cheap to pay shipping. Then I began to wonder if I might be able to not sew them and then I wouldn't have to worry about the burlap unraveling. Hmmm... that was another conversation inside my head and also with a lady at work. I will show you later why sewing them worked best for me.
I happened to have time to visit a thrift store the other day. Remember that I live on the outskirts of Amish Country in Ohio. Our thrift stores are much different then Goodwill or Salvation Army. This particular one is Amish owned and run with all proceeds going to a battered women's shelter. Anyway, I happened to be in the fabric department and saw this.
Yes, that is 5 yards of burlap for $1.00! Me being me said you can't beat that. If it doesn't work for your shades you aren't out a bunch of money. There happened to be two 5 yard rolls so I bought both! This burlap is like what you would find in a burlap bag or around a root ball of a tree. It is an open weave. I wasn't sure this would be the best choice, but I went with it. I saw that Joann's does have burlap for $3.99 a yard. If you get their coupons you could get up to 50% off.
Let me start by saying this tutorial is how I made mine after reading numerous articles, blogs, and looking at YouTube videos. I mashed them all together in what I think is pretty straight forward and it went smoothly.
Let's talk burlap. I did NOT wash mine. Why? Well, after reading, I learned that you actually can wash it, but be prepared for it to shed and clog up your washer and especially your dryer. It will also shrink and possibly weaken the burlap. Mine already had some spots that the threads were broken or looped and I didn't want to chance it. That being said for $1 I'm willing to shake out my shades to get the dust out or beat them with a broom if necessary instead of washing them.
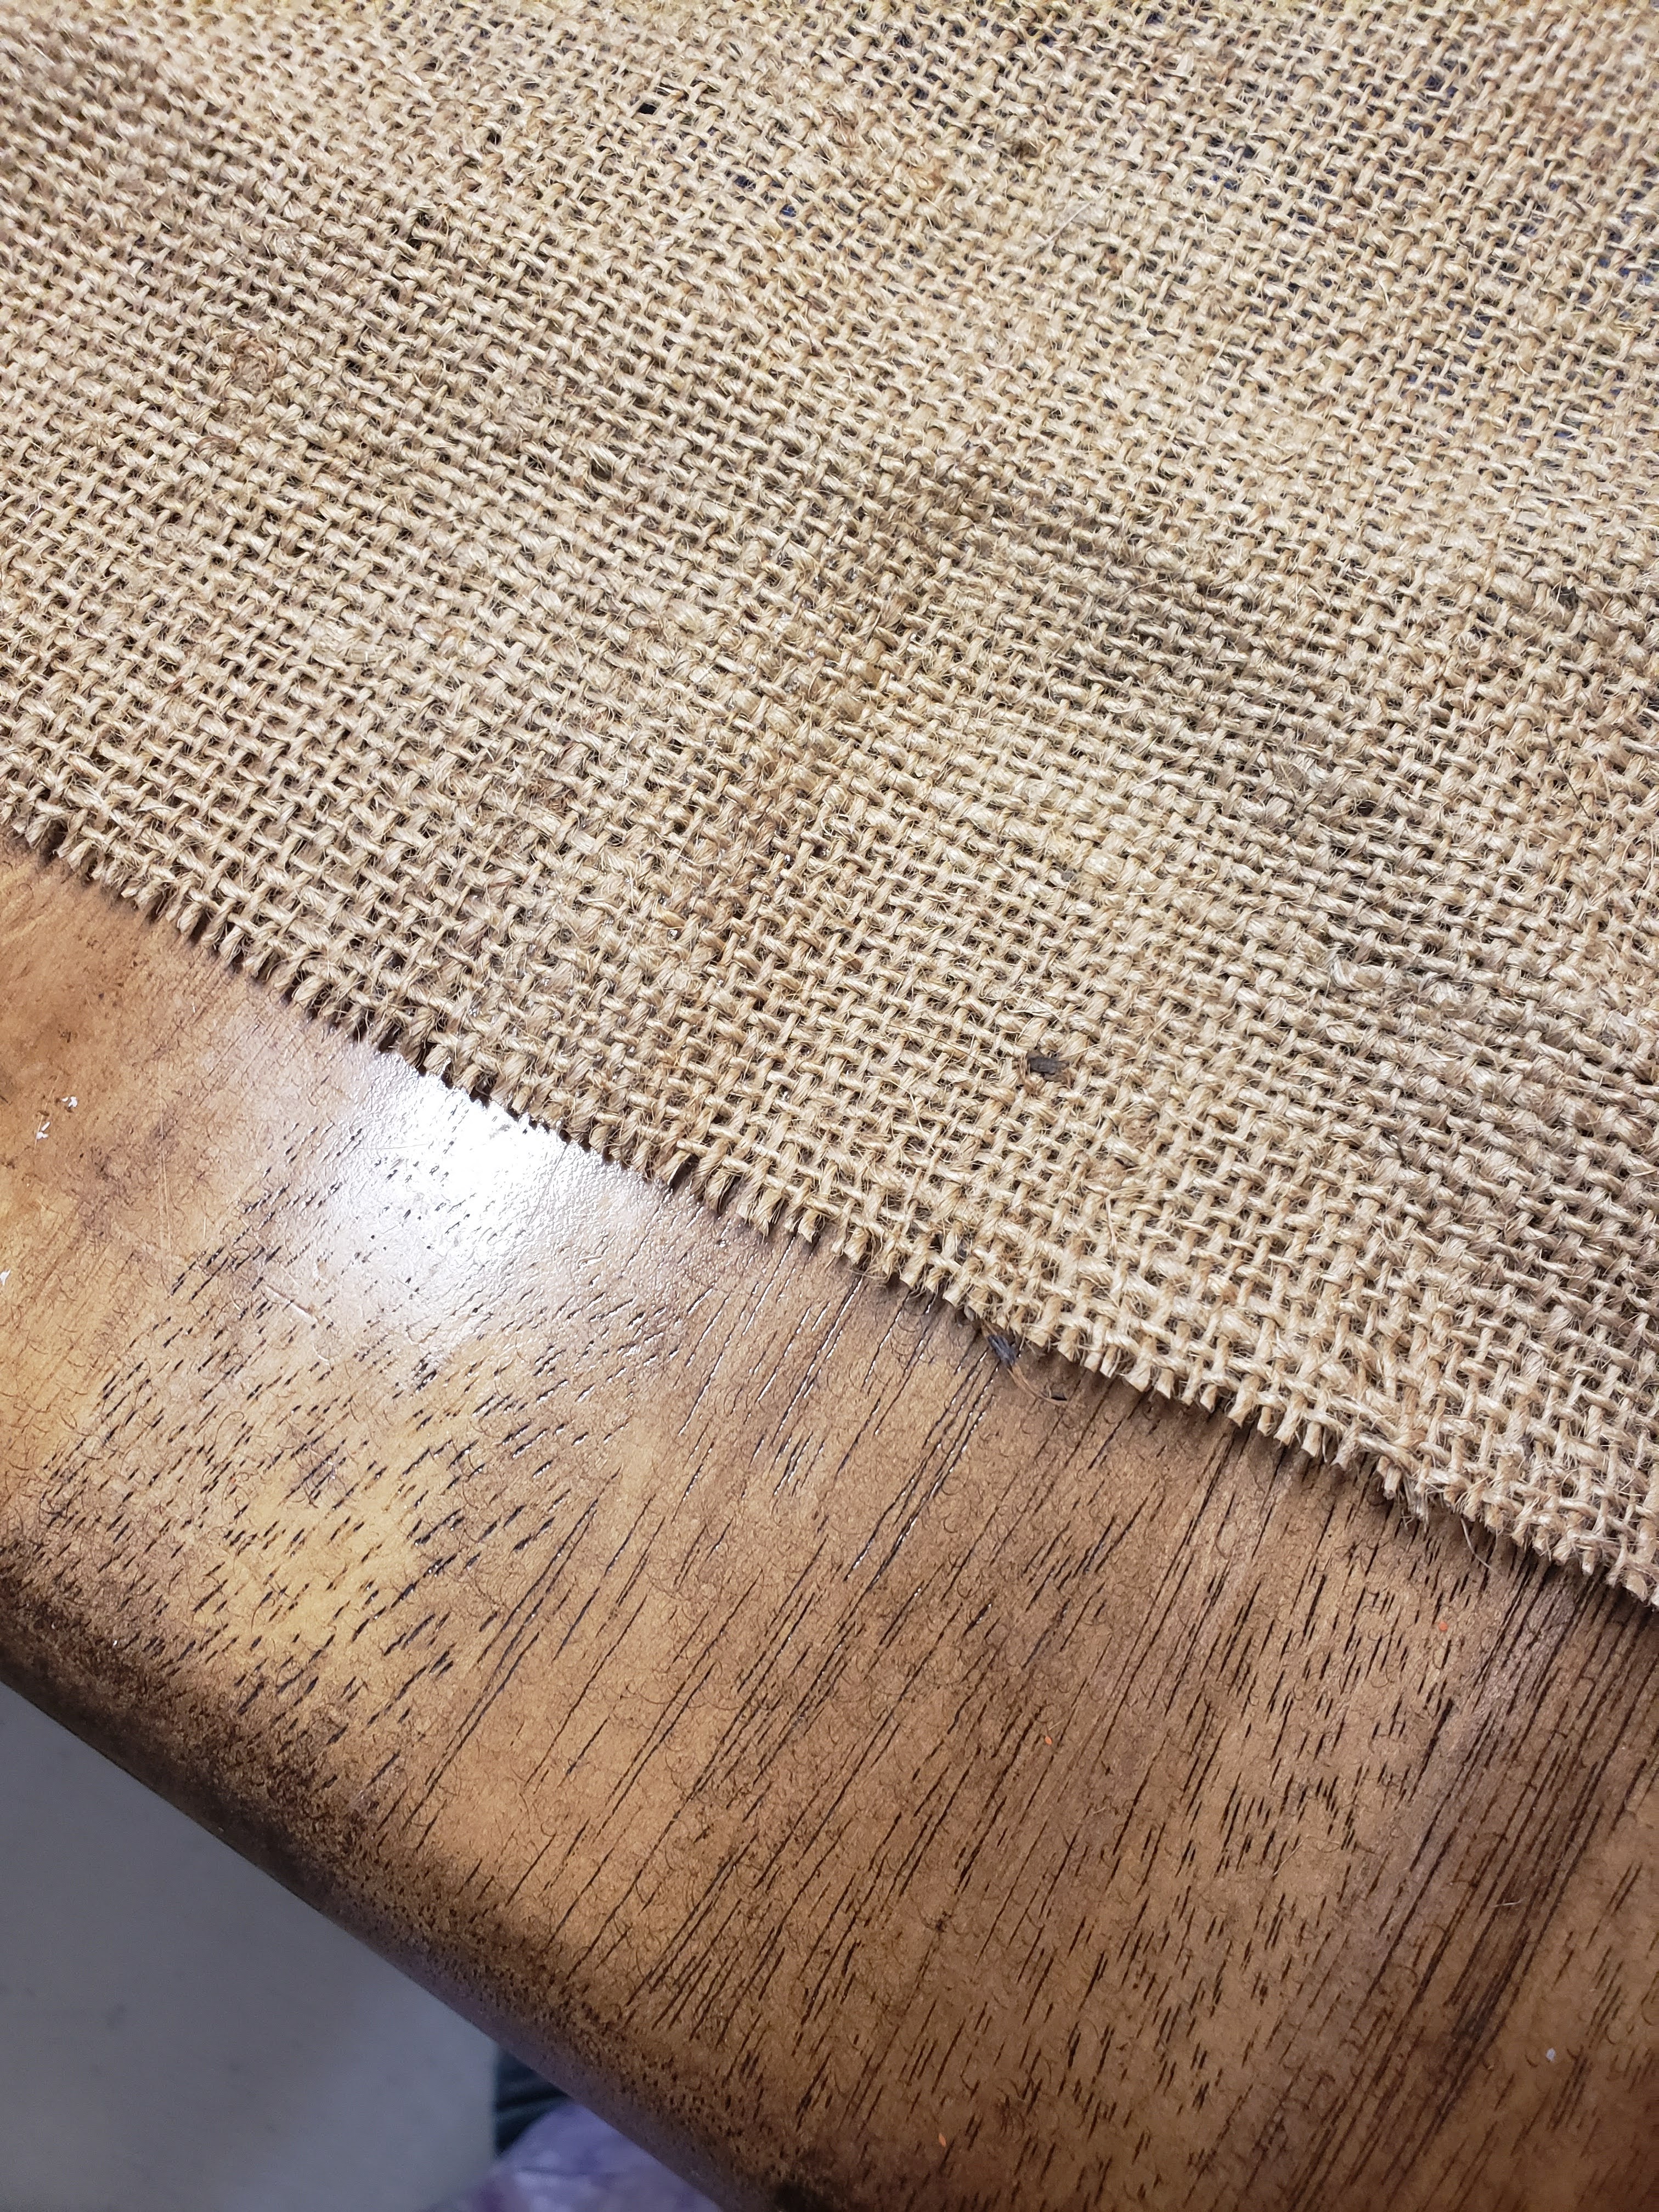
I was lucky that this burlap did have the selvage edges finished, but as you can see they aren't straight. This makes it hard to measure accurately.
Burlap frays as you all know. I'm going to show you a good way to cut it so that it doesn't look like this when you go to measure and sew.
Let's start with measuring your window. You will need the height and width. The window measurement for me is 36" wide and 52" to where I want the shade to fall. My burlap is 40" wide by 5 yards long. LOL. This took me some time to figure out how much I wanted to add to length for the sleeve for the tension rod and for my bottom hem. This measurement is going to depend on your rod and how you choose to finish the bottom. I used a super thin tension rod so I added 2 inches to the top for that and then I will be putting a dowel rod in the bottom to add some weight to keep it straight. For that I added 4 more inches. So 52" +2" + 4" =58" for my length.
To get started and have a nice straight line to measure from you will want to pick a cross thread that goes from selvage to selvage. I have a seam ripper that worked great for that. I came down an inch or 2 from the top to be sure I had a complete thread.
Now, cut that thread and start pulling it. You want just that thread to come out.
I pulled on it to bunch it up then I would take my seam ripper and cut it. It make pulling the thread out a snap
After you pull the entire thread out this is what you should see. This is you cutting line. Take your scissors and cut through the open spot. This is how you not only get a straight line, BUT now it won't unravel.
What a nice looking edge.
Now that you know the top is straight, fold your fabric in half length wise. We are going to cut our length. I don't know a lot about sewing, but I do know that when you are cutting a length of fabric measure down the folded edge for your length. Sometimes the outside selvage edge is distorted and that may measure say 58" that doesn't mean the folded edge will. I laid mine out on the floor and used my son's tape measure. I then found the thread nearest to my measurement of 58" and pulled that thread just like I did to start with. Then of course I cut it.

Making my 2nd shade I found that you will want to press your burlap. Trust me on this one. I didn't do this the 1st time and wished I did. Burlap needs steam! I happen to have a steam setting on my iron, but you could use a spritzer bottle with water. You will also need some sort of cloth to go over top of your burlap. I used a scrap of muslin. I always have it laying around here as you can see. Why do you need the muslin Mary? If you don't you could scorch and discolor your burlap. I found that out. Now I want you to press not iron back and forth. By going back and forth you will distort the shape. So, up and down with your iron until everything is pressed.
This is why I didn't wash my burlap! I'm not worried about these threads as they will be hidden in the side seams. (width) I just trimmed them off.
I will begin with the width seams. Remember my burlap width is 40" but I only need 36". I decided to not cut any off the sides and that I would have 2" on each side to work with. 4"/2= 2" I used my ruler and measured 2" and pinned it. You could easily pull a thread length wise so you know where to fold your seam just don't cut it. LOL. I then pressed my seam allowance flat. You can either do each side separately or get them both ready to sew at once. I chose to pin both sides at the same time so when I took it to my machine I could knock them both out.
Because I wanted a nice finished looking seam I then folded the seam in on itself and pinned it to measure 1". This is hard for me to explain hopefully the picture shows it better. Remember to pin it so that you are able to pull the pins out as you sew.
If you don't learn anything else from this tutorial this is by the far the biggest game changer. If you have a walking foot for your sewing machine use it! This my friends made this project so easy. A walking foot helps your burlap go through evenly and not distort your seam. This was by far the best thing I read before I did this. If you are a quilter you know about this particular foot.
Ready. Set. Sew. I chose a 1/2" seam. You could certainly do less or more. Because you took your 2" allowance and made it 1" you will not have to worry about catching the fabric that turned under. Your seam will look fabulous. Another tip is to use a short stitch length so that all the threads are held in good.
The sides (width) is all done. You are half way there!
Since I was using a thin tension rod my pocket doesn't need to be very big. I made mine the same size as my sides. I wish I would have gone at least another 1/2" larger. My rod fits, barely. Just so you know these babies are a hot commodity right now. I went to Big Lots, Walmart, Lowe's, and Joann Fabrics just to find stinking tension rods. Is everyone at home making curtains? The funniest part about this is I told my son I was going to Big Lots to get them and I'd be home in a bit. Obviously it took longer than normal. My son, who is 21, was like I thought you were only going to Big Lots, but I found out you were at Joann's. I felt like a teenager getting caught. LOL. He told me an informant text him and told him where I was. I saw no one that I knew the whole time I was out. Here one of his friend's girlfriend's works at Joann's and told him. She has only seen me once or twice, but knew it was me.

Now for the part I would have definitely done different. The bottom of the shade is one thing I would change. Like I said before I wanted to see if this could be done "no sew" so I tried some Heat N Bond Ultra. It comes in a package and can be bought at Hobby Lobby, Michael's, or Joann's. It is basically a paper backed "glue". I bought this piece for $.25 at the thrift store. If it worked I was going to buy more.
I cut a strip of the bonding agent 1" wide because I figured that is what I made all the other seams by 36" wide.
I then followed the directions that came with it by ironing it on to the burlap. I will say this. If you want to use this stuff to keep your edges from fraying and having less bulky seams this will work great, however, you will still have to sew your edge. I tried to fold this edge over and iron it and it did not stick at all.
This is NOT what I wanted the bottom to look like, but when you can't turn back you roll with the punches. What I ended up doing is using the stuff as a fray stopper. I just folded up the bottom and had a 3" pocket. I then sewed across it to hold it in place. Your shade is now complete.
I hung mine from the tension rod inside my windows. Then on the bottom where we had the extra big pocket I slid a wood dowel rod to give it some weight a structure. I picked up two 1/2" 36" length dowel rods at Lowe's for $1.79 each. I had my windows open today and the rod kept it from blowing around. It also keeps the burlap straight and crisp. See why I said to press the burlap before sewing?
I hope this helped. I know I get wordy, but I want to be sure I explain fully. If you still have questions please ask.