Monday, July 18, 2011

Left Handed Cross Stitch Tutorial

Hello everyone!!! Are you ready to hopefully learn to cross stitch? Now before I start I just want to say I am not a professional stitcher and what I may do is not the only way of cross stitching. The way I do it is what I've picked up along the way. My first experience with cross stitch was in 7th grade home ec. Too bad they don't do this anymore. I got a B on my project because I didn't follow directions and used different colors. Isn't that what life is about marching to the beat of a different drum? LOL. Anyway... if you are ready let's get started. If you click on any of the pictures they will enlarge so you can get a better view.

Alright my friends if you are right handed this may or may not work for you. If you'd prefer my friend Kriss of Kountry*Porch*Primitives is doing a right handed version of cross stitching please check her out.

I am posting a free pattern on the right side of my blog for you to stitch along with me. So go over click on it. It will take you to my Picturetrail. Once there right click the picture save it on your computer and then print. Or you can click here. Right click to save and then print. The supply list is here. I tried to get the legend to print on my pattern but no luck. The pattern is in color so you will be able to figure out what colors to use.

This is what our finished project will look like. Just a cute peg rack pillow hanger.


Alright do you have your pattern? Let's take a look at the pattern. At the bottom you would normally see the color legend of what each symbol corresponds with what color. With this pattern the you see color and a symbol. Now in most patterns each small square is one stitch or X. You may also see that there are a little darker lines running vertically and horizontally. Inside of each of these squares is ten small squares for ease of counting. This comes in handy when counting off borders.


For this project I am using 14 count aida cloth in beige. I didn't want to coffee stain it in the end so I choose I darker background. Remember this an 8 inch by 8 inch piece.


There are two ways to get started with any pattern. Sometimes the pattern will tell you to start in a certain place like in the upper left hand corner of the project so many inches from the top of the fabric. I personally always cross stitch from left to right. Lefties you may find this easier because you can see exactly where your stitch needs to go.


OR it won't tell you and you can start wherever you want. Depending on the pattern I will start in the middle on the stitchery for the most part. That way your stitchery is centered in the fabric.

If you are going to start in the middle take your fabric and fold it lengthwise.


Then fold it crosswise...


My pin is in the middle of the fabric or at least close enough. From there you work outward. Don't worry I will be revisiting this step a little later.


For this particular pattern I started with the border. The reason being I wanted to make sure I had told you the right amount of fabric. So I measured 1 inch down from the top and 1 inch from the side and that is where I started. In the end you will have a little fabric to cut off.

Ok in this pattern you will only use 2 strands of thread when you are cross stitching. To start on the border cut off about 18 inches of black floss. Pull two strands away from the six. Some people take one strand at a time then put the two back together to thread the needle. This will make your stitches lay flatter and better. Thread your needle...

Whenever you start you will bring your needle to the front from the back. Leave about a half inch "tail" on the back of the fabric. We do NOT tie knots in the floss. You will just stitch over them to secure the tail.


Now back to the front. This pattern was to little for me to use a hoop so I am just holding it with my hands. Anyway, Your needle was on the front. Being left handed like I say I work lower left to upper right for my first stitch.


On the back... this next stitch from back to front will tack down your tail. The next stitch you take will go in the next hole directly beside to the right where the tail is. Take you needle and push it through to the front.


Your back should now look like this. One stitch over the tail.


This is what the front will look like... the needle came up directly beside the first stitch.


The next step is up to you how you want to proceed. You can either...

A. complete the X and complete each X as you go...


So on and so forth... I find that my X's don't look good when I stitch this way. They aren't even.


OR

B. just keep going until you come to the end of the line. There is no right or wrong way to do it. I prefer to keep going with the same stitch.


So I bet you are wondering how are we going to know how many stitches we've done without recounting them all? Well, every ten stitches I put a pin to keep my place. Remember when I told you that there are ten squares in between the heavier dark lines? Yep this is where they come in handy. And when you have 70 some stitches across I sure as heck don't want to keep recounting. LOL.


Alright my lefties.... since I can't use a hoop I have to hold it in my hand. For me this is the best way to keep the cloth a little taut and hold it at the same time with my right hand.


The top row is done stitching it from left to right. Now turn around and cross the Xs from bottom right to upper left all the way back.


If you are following me this is what the back should look like.


Darn it I'm at the end of my floss. To end it just take your needle back through you stitches to tie it off. Remember no knots!


Wait a minute did I say knot?!? Sheesh I got a knot in my thread. This does happen if every so often you don't let your threaded needle dangle to unwind. Obviously I didn't. These knots for the most part come out pretty easy.


Carefully grab the knot between your thumb and index finger and lightly pull on the knot. Most times they will pull right out. If not you may have to use your needle to get it out or sometimes tie off your thread and cut it off. YEP I've done that a few times. LOL.


I know before I told you when I go across I stitch all the way across. That is true. But when I have stitches that go straight down like a border I will make the complete X then go on to the next one. I still mark every ten stitches with my pins.


I finished all my border. See what I mean you will have a little extra to cut off in the end.


OK now what? The next step is up to you. If you want to count to get your middle or if you want refold (I choose this method) to find the middle of your borders. Fold vertically matching the borders then fold horizontally matching the borders. Mark it with a pin. Now go to your pattern. I printed mine without the center line markings, but yours has it. I use a pencil and draw a line straight down the middle and a straight line across to find my center square.


You all ready to start counting? This can get confusing, but let's try it. I decided I would start with the blue. So looking at your pattern find the blue symbol at the bottom of the pattern. Now if you look up to the figure there is a blue symbol close to our center mark. I always start at the top left of the beginning of a color. So in this case counting from the center going up is two squares. Then counting across to the symbol is two empty squares and on the third square start your stitch. I always count twice and use my needle to mark the square that I need to stitch in by putting the needle in the hole and moving it around a little to make the hole bigger. Again, you can count however you want just be consistent. Ok the first blue circle is done.


Now count either from that circle or the center point until you finish all the circles. I try to base my next circle on the previous circle when I count. Since I already had the blue out I also did the wing.


After the blue I figured the brown should be next. Not much counting around the feathers until you get to the straight parts. And then the head can be counted off the first feather.


Are you still with me???


GREAT!!!! Let's move on to the numbers. I always try to find the shortest way to count. That way I have less of a chance of counting wrong. So, I started at the bottom most feather above the 1 and started there. Once you have the first number count your next stitch from the 1 to the 8 so on and so forth until you finish.


We are almost there... The alphabet is a little more difficult to count. You could either count from the border or count from the bird. I started at the top most plume of the bird head and did the D first. Then I based everything off of that.


Woohoo you made it!!!!


You can finish it however you like. I chose not to coffee stain mine but you certainly could. I cut mine down so that there was 3/4 of an inch all the way around first. Then I cut a piece of blue fabric stitched it together stuffed it with sawdust and made a hanging pillow tuck.

I hope you had fun and maybe learned a little today. If you get stuck please email either me or Kriss and we can talk you through it. :-)
Pin It

Friday, July 15, 2011

Giveaway Winner and an Update

As all of you remember I was having a Giveaway for the release of my first cross stitch pattern. Yesterday was the last day to enter. So as of this morning I had 18 entries. Thank you to all who entered! Each of you who entered was assigned a number 1-18 according to your comment number. So....

Here you all are in my lucky bowl with my son picking the winner...


And the winner is.... Kriss from Kountry Porch Primitives...

http://www.blogger.com/img/blank.gif

Kriss will win not only the pattern, but the supplies needed to make my sampler. Congratulations Kriss!!!


Update...

I was going to post my cross stitch tutorial today, but I am not quite ready. I just finished stitching it today. I still need to put the tutorial together. I will have it post Monday morning 8am sharp. Kriss needed a little extra time also for you right handed friends. But I will tell you what you will need to be ready for the tutorial come Monday.

Supplies:

an 8 inch by 8 inch piece of 14 count aida cloth. (I am using beige for the example)

DMC cotton thread (These are the ones I am using but you are welcome to use whatever you have on hand.)

Red #3777
Brown #838
Black #310
Blue #413

Scissors

Needle regular or tapestry

This one is a bit small for a hoop, but if you have one that might fit then feel free to use it.

Thanks again everyone and have a great weekend. I will "talk " to you on Monday.
Pin It

Tuesday, July 12, 2011

Thrift Store Goodies

On my last day off my son had an orthdontist appointment in my hometown. Well, we left a little early to be sure we there on time. We ended up being 15 minutes early so I suggested we go to the Goodwill. He agreed of course! I had found a few things and so did he in that time constraint. After I found him we had only 5 minutes until his appointment time. I told him to put back the jeans on the rack and we'd come back after he was done. However, I shared with him the old thrift store pickers secret. When you put them back and plan on coming back you "hide" them in a a size that is totally different then what you have. That way some well meaning person doesn't find them and snag them. LOL. Don't tell me you have never done that! So tires squeeling in the parking lot we headed to the ortho. I'm kidding. But in case you are wondering we got there on time.

So on the return trip I had a little more time to look. I scored some pretty good stuff though this particular Goodwill is high priced I think.

Alright, I got these fabulous curtain panels. Ummmm yeah I will be taking the puff balls off. Very retro though don't you think? I told Steve I was going to put the puff balls around the tops of his socks for him. lol. Hey he brought up the footie socks that had the ball on the back. Do you remember those? Anyway we are headed out today for my daughters ortho appointment and I'm going to pick up some RIT dye and darken these babies right up. They will be for my bedroom.


I also found some wool to add to my stash for possible future projects.


I found these awesome books! Thing is I already have them lol. I love this set of books and every time I see them I buy them because they have awesome ideas. So... I am selling these instead of taking them to Goodwill. I am asking $5.00 a piece plus shipping. The Country Kitchen is SOLD


I got these next pewter pieces at the flea market awhile back and forgot to show you.


I'm pretty sure this is a stair tread, but I'm going to use it as a table runner.


And of course I always pick up wood bowls when I see them. I'm still not sure whether I'm going to sand this down or not.


I bought this bowl dirt cheap because it had a crack. Well, by the time I got it home it totally broke. Grrrr... so I glued it back together and I think I'll still keep it and display it. I really like it. It looks like a redware piece to me.


The basket was SOOOOO cheap too less than a buck.


My sister is now looking out for me at the thrift store too. I got a phone call from her that there was a brand new quilting frame still in the box with extenders to go with it for $15.00. I told her to snag it and that I'd pay her back. I have no idea where I'll put it, but I may have to save it back for one day when I have a quilting room.

On my day off I have a ton of plans. Namely, getting my cross stitch tutorial worked on. I have been working a ton AGAIN, but I promised you I'd do it and my friend Kriss has been working on her part too. I'm hoping to get it done Friday though it might be a little later in the day. I work the next two days and then have the whole weekend off. I can't wait! I may hit up a thrift store today while I'm out because on their sign it said all this week is 20% off everything. So, you have to at least check it out right?
Pin It

Friday, July 8, 2011

It's Here!!!!!

I am excited to offer my first Cross Stitch sampler pattern!!! This pattern is called Summer Bloom #1. To order your PDF version please shoot me an email. I do accept Paypal which is preferable. It is easier to invoice you. The cost of the PDF pattern is $8.00. After payment is received I will email you your pattern within 24 hours. Please check you S P A M folder if you have not received it in that 24 hours.

So without further delay.... This sampler is stitched on 14 count coffee stained white aida cloth. Fits an 8X10 frame.

Summer Bloom #1


And to celebrate my newest venture I am having a giveaway. I will give away the supplies to make this awesome sampler. This means you will get the coffee stained cloth dyed the same time as my sample and DMC floss absolutely FREE. You will have until July 14th to enter this giveaway on this post only.
Pin It

Thursday, July 7, 2011

Cross Stitching 101

This post is going to be geared toward my non-stitching audience. I am going to attempt to explain a few things about cross stitching before I dive into a full fledged cross stitching tutorial. Many of the things I'm going to try to explain are things I've learned along the way by either reading or asking. I am by no means an expert. I can do the fairly simple stitches so no worries about me getting into too much depth. I just want to show you a few things to keep in mind before I actually show you the method I use to cross stitch. Getting started in cross stitching is relatively cheap and is very rewarding. Many people think it is difficult, but once you've tried it you'll find it's quite relaxing and pretty simple. If you can count you can cross stitch. Now if this means you have to pull your shoes off to help count then so be it. LOL.

First things first. Fabric or cloth. There are many types of cloth available to stitch on. There is aida cloth, evenweave, linen, osnaburg, so on and so forth. I'm just going to touch on a few. Each of the above cloths have different thread counts. WHOA... Mary... Thread counts are how many squares or cross stitches you have in an inch. (That applies to US I'm not sure how Canadians measure maybe cm.)

For example... this is aida cloth or sometimes known as evenweave. It comes in 6,8,10,12,14, and 18 counts. This means the warp and weft threads are exactly the same and your cross stitch will be even know matter which way you stitch. This is where it gets semi confusing. The higher the number the finer the weave. This means an 18 count X's will be smaller than say a 6 count because you will have 18 X's in one inch as compared to 6 in one inch. Starting out I recommend using a 14 count aida cloth because of the squares. If you look at the lower right corner you can see what I mean. This shows you where you need to put your needle through. As you can see it comes in all sorts of colors. After you stitch a few projects and get more comfortable you can progress to finer weaves. I looked recently and you can find this type of cloth at Jo-Anne's and Pat Catans for sure. I personally like either white because you can coffee stain it or the beige which is already a tan color.


This is a 2 over 2 count. I won't get into that until another day. I just wanted to show you how even the stitches are.


I also came across a pattern that called for Fiddler cloth. Not knowing what that was I turned to my Facebook friends and this is what she explained to me. This is basically like aida cloth except for it is a brown color with strands of other browns woven through it. It's actually really nice to stitch on and it gives your stitchery a more authentic appearance.


How about linen? You all remember the linen suits we all had and hated to iron because the wrinkles never came out. LOL. Many stitchers prefer using this because the X's are much smaller and replicates stitcheries done in years past. Also because the threads are not the same size your X's are not always the same size. The threads are a little more difficult to count also. I myself have yet to use it, but I actually have some I've bought at antique or thrift stores for the sole purpose of stitching... eventually. lol.Linen has a very high thread count and is normally a "2 over 2" and some people will only use one strand of thread. Again, very hard on the eyes.


Lastly, I have tried stitching on osnaburg fabric. You know the fabric a lot of us crafters have in our stash. It coffee stains great. Yes, it is very difficult as you can imagine and you need hawk's eyes to do it. HOWEVER, the end product is awesome. I would say if you can't afford linen this is the next best thing. Again until you have stitched a few projects I don't recommend jumping in with this fabric. Again you can find it at Jo-Anne's relatively cheap.


Ok so what's the difference. Any pattern can be stitched on any cloth. Just keep in mind if the pattern is using 14 count aida it will be larger than if the same pattern was stitched on linen. Linen has a much higher thread count. So if the pattern says if stitched on 14 count it will fit a 5X7 frame that if you stitch it on linen it may only be 3X5 for instance because your stitches will be much smaller. Clear as mud? LOL.

OK let's not dwell because your head will be spinning here soon. LOL. The next part of stitching is thread. Back in the day many old stitcheries were done with silk thread. I, myself, have never used silk. I am assuming you can purchase it at specialty shops. I am in no way being paid or endorsing anyone in particular, but I like to use DMC cotton embroidery floss. For one it is relatively cheap. Jo-Anne's carries it around here at $.39 a hank. And if you live near a Pat Catan's in Ohio it's $.02 cheaper. A hank is like a skein. Anyway, your color choices are endless and like I say easy to find. In my patterns I am working on I will only use cotton DMC #s. For the most part, unless otherwise stated, on a pattern you will cross stitch with 2 strands at a time not more than 18 inches long according to some people. It is up to you how much you can work with. The longer the floss the more likely it will knot up. I'm just saying... lol


Now how about needles? If you have a simple needle at home that will work just fine. Just remember how tiny the eye is to get two pieces of floss through. I recently have decided I like using a tapestry needle after I got one with a kit I bought. Basically, the tapestry needle has a bigger eye for my horrible eyes to thread. The end is blunt not pointy. Less risk of pricking myself. The choice is yours. Tapestry needles come in different sizes and can be bought as a set of different sizes. Again you can find them at Wal-mart or Jo-Anne's. Give both of them a try and see what suits you.


Lastly, this is not a have to. I prefer to use a hoop. It is much easier to keep your fabric taught while you are stitching. It makes it easier to go front to back when you you stitch. I have a few metal ones from my mom from a long time ago. If these are left on too long sometimes they will rust on your fabric. Yes I learned this the hard way. I also am lucky enough to have found some really cheap wood ones at the thrift store. I am using wood more because I can adjust the tension. You don't want your cloth held to tight or it will stretch and skew it a little. Also, when you are done stitching for the day or evening take the hoop off. Again, it'll help the cloth keep its shape. FYI aida cloth is rather stiff starting off so you may see the shape of the hoop when you pull it off.


Now, on to patterns. I found this flower pattern online so I could demonstrate a few things. My little pattern charting thing is a fiasco for the time being so I must use one online. LOL.


I know what you are thinking. "Shut the front door!" Are you crazy Mary? This is a modge podge of a foreign language. LOL. I just want you to enlarge the picture and see that there are different symbols used in this pattern. Each symbol would be a specified color on the color key. None of my patterns will be this bad I promise. LOL. Sometimes patterns will be in color too. If you see a blue square the color key will tell you which color blue to use. More on this later when I do the actual tutorial.

There you have it the beginning of Cross Stitch 101. As soon as I figure out this stupid charting program I will get my free chart together so we can all work together on a project. Oh and I have enlisted the help of one of my fellow stitching blogger friends Kriss from Kountry Porch Primitives to assist me. That way I can show my lefty friends how I cross stitch and Kriss can show the righties her secrets. Always thinking about all of you. :) So, give us a few days and we'll pull this together for you.
Pin It

Sunday, July 3, 2011

Happy July 4th!!!!

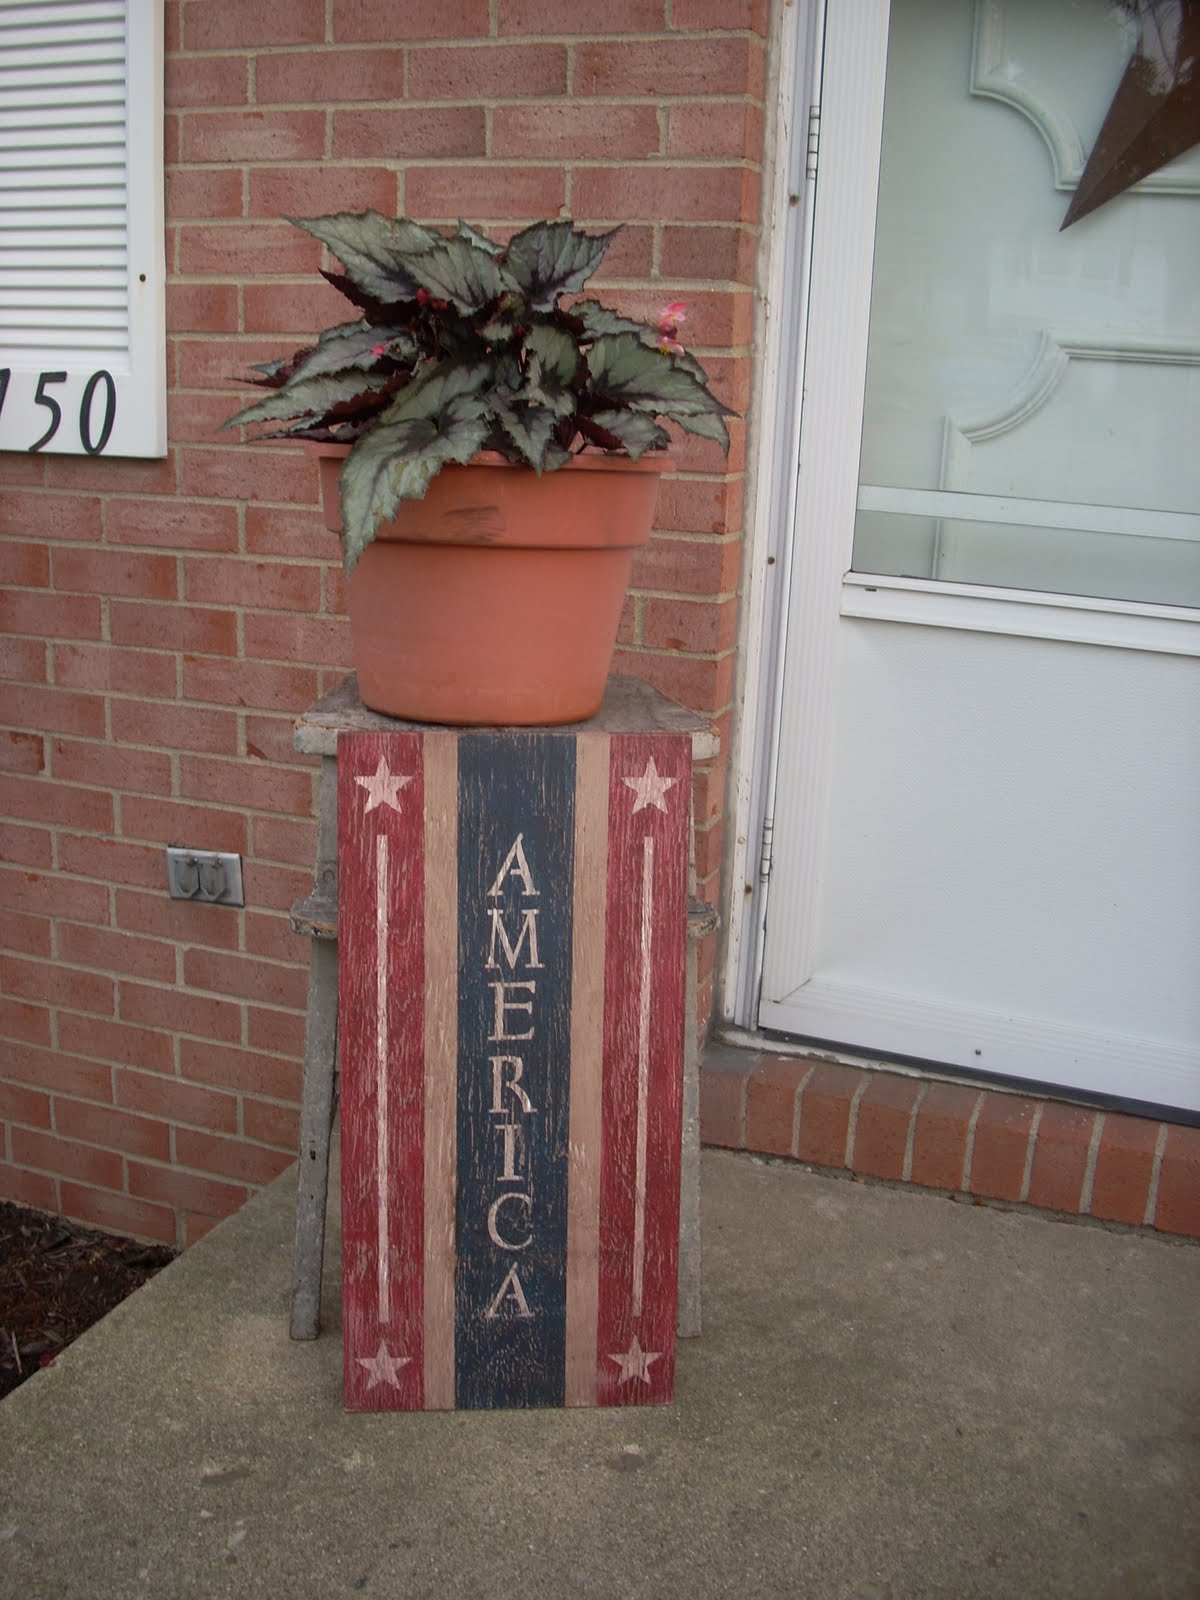
Since I will be working tomorrow I thought I'd share my outside pics with you today.

Enjoy!

P.S. The flowers look so beautiful because Steve has been watering and taking care of them. :)


Pin It